Shield
Getting started
Three steps: create a widget, embed it, validate tokens. Most integrations take under five minutes.
On this page4 sections
1. Create a widget#
In the console, go to Shield → Create Widget. Give it a name, optionally restrict it to your hostnames, and choose a mode (Managed is recommended; see Widget modes).
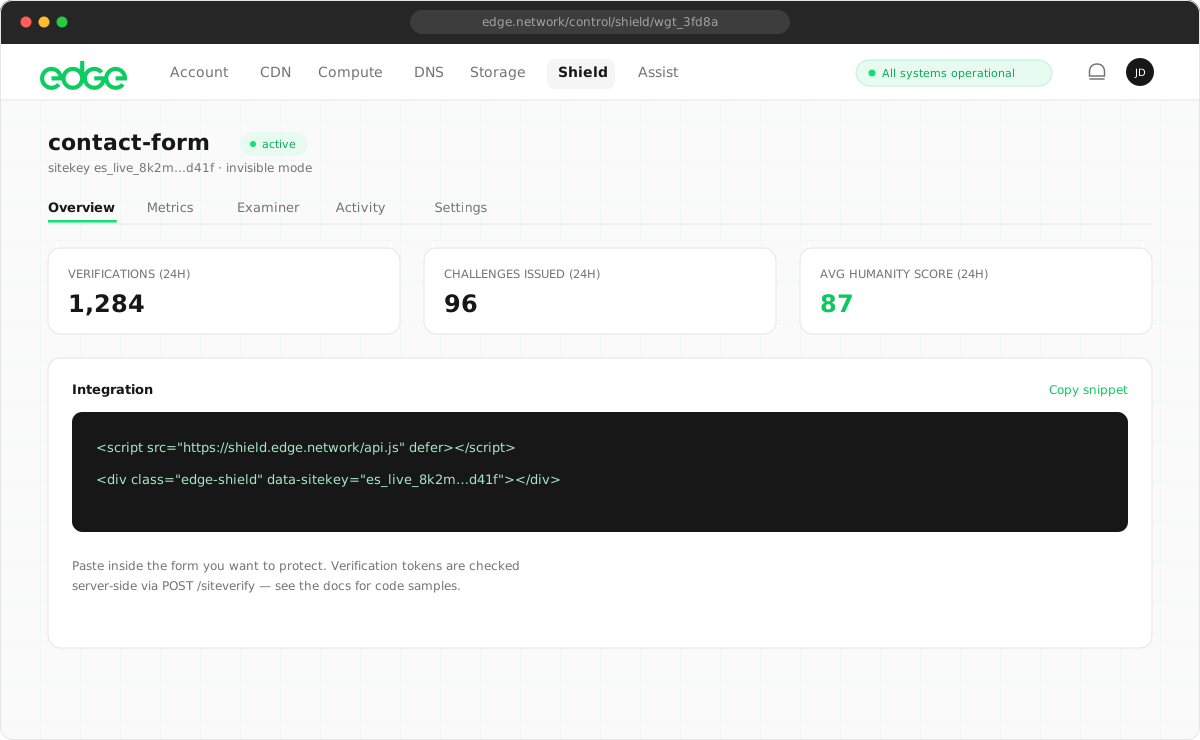
You’ll receive two keys:
| Key | Format | Where it lives |
|---|---|---|
| Sitekey | es_… |
Public, embedded in your pages |
| Secret key | es_secret_… |
Server-side only, shown once at creation |
2. Add the widget to your page#
Include the script once, and place a div.edge-shield inside any form you want to protect:
<script src="https://shield.edge.network/api.js" defer></script>

<form action="/signup" method="POST">
  <input type="email" name="email" required />
  <div class="edge-shield" data-sitekey="es_your_sitekey"></div>
  <button type="submit">Sign up</button>
</form>
The widget verifies the visitor and appends a hidden edge-shield-response input to the form. Tokens auto-refresh before they expire, so slow form-fillers aren’t penalised. The bundle is under 15KB and solves its challenge in a Web Worker.
3. Validate the token on your server#
When the form is submitted, POST the token and your secret key to siteverify:
curl -X POST https://shield.edge.network/siteverify \
  -d "secret=es_secret_..." \
  -d "response=<edge-shield-response from the form>"
Response:
{
  "success": true,
  "score": 92,
  "challenge_ts": "2026-07-21T08:00:00.000Z",
  "hostname": "example.com",
  "error-codes": []
}
A complete server-side example:
// Express example
app.post('/signup', async (req, res) => {
  const token = req.body['edge-shield-response']

  const result = await fetch('https://shield.edge.network/siteverify', {
    method: 'POST',
    headers: { 'Content-Type': 'application/x-www-form-urlencoded' },
    body: new URLSearchParams({
      secret: process.env.SHIELD_SECRET,
      response: token,
    }),
  }).then(r => r.json())

  if (!result.success) {
    return res.status(400).send('Verification failed')
  }
  if (result.score < 40) {
    return res.status(403).send('Blocked') // or redirect automation to your API
  }

  // ... create the account
})Next steps
Something unclear or out of date? Tell us