Before you start#
- Account created
- CLI installed
- Authenticated (
edge auth status)
Pick your starting point#
Each product can be deployed independently. Pick the one that matches what you need right now. You can always add more later.
- CDN: cache and deliver content globally. Best for websites, APIs and static assets.
- Compute: launch a virtual machine. Best for apps, databases and backend services.
- DNS: manage your domains with global Anycast DNS. Best when you have a domain to point.
- Storage: store files with S3-compatible object storage. Best for media, backups and assets.
Deploy a CDN#
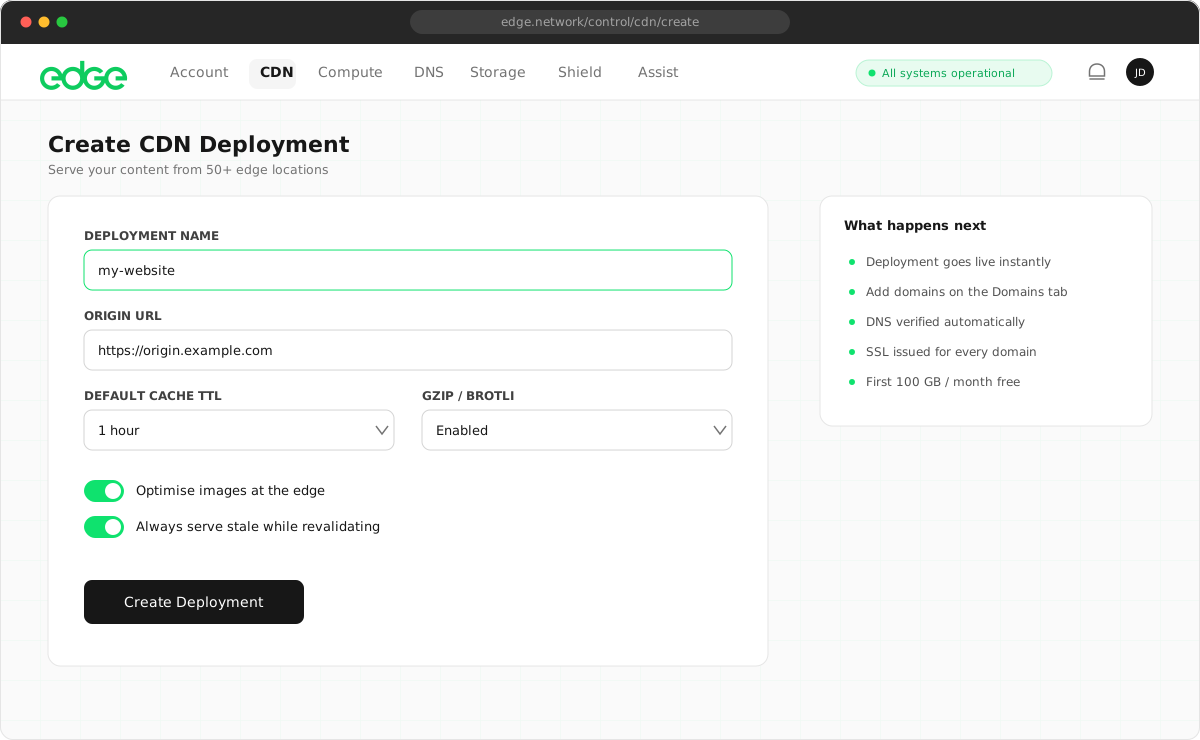
Put your website or API behind Edge’s global CDN. Content is cached across 988 locations and served from the nearest point to your users.
1. Create a deployment#
You need a name for the deployment and your origin URL: the server where your content actually lives (e.g. your app server, S3 bucket or any HTTP endpoint).
edge cdn create --name my-site --origin https://my-origin.example.com2. Add a custom domain#
Add your domain to the deployment. Edge will automatically provision an SSL certificate.
edge cdn domains add <deployment-id> --domain cdn.example.com --origin https://my-origin.example.com3. Point your DNS#
Create a CNAME record at your DNS provider pointing your domain to cdn.edge.network. If your DNS is already on Edge, this is done automatically.
cdn.example.com CNAME cdn.edge.network4. Verify it’s working#
Once DNS propagates (usually within a few minutes), your content will be served through Edge’s CDN.
# Check deployment status
edge cdn list

# Test with curl
curl -I https://cdn.example.com
You can also do all of this from the console.
Launch a VM#
Spin up a virtual machine with dedicated resources. Choose your OS, size and region.
1. Create the VM#
Pick a name, operating system, specs and region. The VM will be ready in about 60 seconds.
edge compute create \
  --name my-server \
  --image ubuntu-24.04 \
  --size s-2vcpu-4gb \
  --region london
The CLI will display the root password and IP address once the VM is provisioned.
2. Connect via SSH#
Use the IP address and credentials from the creation output to connect.
ssh root@<your-vm-ip>3. Deploy your app#
Once connected, install your dependencies and deploy. Here’s a quick example with Docker:
# Install Docker
curl -fsSL https://get.docker.com | sh

# Run your app
docker run -d -p 80:8080 your-image:latest
4. Monitor#
Check on your VM from the CLI or the console.
# View VM details
edge compute get <vm-id>
You can also create VMs from the console, which includes a visual OS and region picker.
Set up DNS#
Move your domain’s DNS to Edge for sub-10ms resolution with global Anycast. You’ll need access to your domain registrar to update nameservers.
1. Add your domain#
edge dns create --domain example.comEdge will assign you a pair of nameservers (e.g. ns1.edge.network and ns2.edge.network).
2. Update nameservers at your registrar#
Log in to your domain registrar (Namecheap, GoDaddy, Cloudflare, etc.) and replace the existing nameservers with the ones Edge assigned. This step varies by registrar but is usually under “DNS Settings” or “Nameservers”.
3. Add your records#
Once the zone is created, add your DNS records. Here are the most common:
# Point your domain to a server
edge dns records add <zone-id> --type A --name @ --data 203.0.113.50

# Add www subdomain
edge dns records add <zone-id> --type CNAME --name www --data example.com

# Add email (MX record)
edge dns records add <zone-id> --type MX --name @ --data "10 mail.example.com"
4. Verify#
# List all records
edge dns records list <zone-id>

# Test resolution
dig example.com @ns1.edge.network
Create a storage bucket#
S3-compatible object storage with zero egress fees. Use it for media files, backups, static assets, or anything else you need to store.
1. Create a bucket#
edge storage create my-bucket2. Upload files#
Upload individual files or entire directories.
# Upload a single file
edge storage cp ./photo.jpg my-bucket/images/photo.jpg

# Sync a directory
edge storage sync ./dist my-bucket/website/
3. List and manage#
# List files in a bucket
edge storage ls my-bucket/

# Download a file
edge storage cp my-bucket/images/photo.jpg ./downloaded.jpg

# Generate a share link (1 hour expiry)
edge storage presign my-bucket/images/photo.jpg
4. Use with S3 SDKs#
Edge Storage is fully S3-compatible. Use any S3 SDK or tool (like the AWS CLI) by pointing it to https://storage.edge.network.
Generate access keys in the console or see the SDK guides for code examples.
Keep learning
Getting started3 min read
CLI installation
The Edge CLI is the fastest way to manage your infrastructure. Install it in seconds, authenticate, and start deploying.
Getting started3 min read
Quick start guide
Go from zero to deployed in 10 minutes. This guide walks you through creating an account, installing the CLI and deploying your first resource.
Getting started3 min read
Console quick start
From new account to a live, globally delivered site in about ten minutes, entirely from your browser. No terminal or config files needed.