3 min readbeginner
Account setup guide
A complete walkthrough of setting up your Edge Network account, from signup to security configuration. Get your account production-ready in 5 minutes.
CoversPlatform
What you’ll set up#
- Profile
- Billing
- Security
- Notifications
- Email verification
1. Start free#
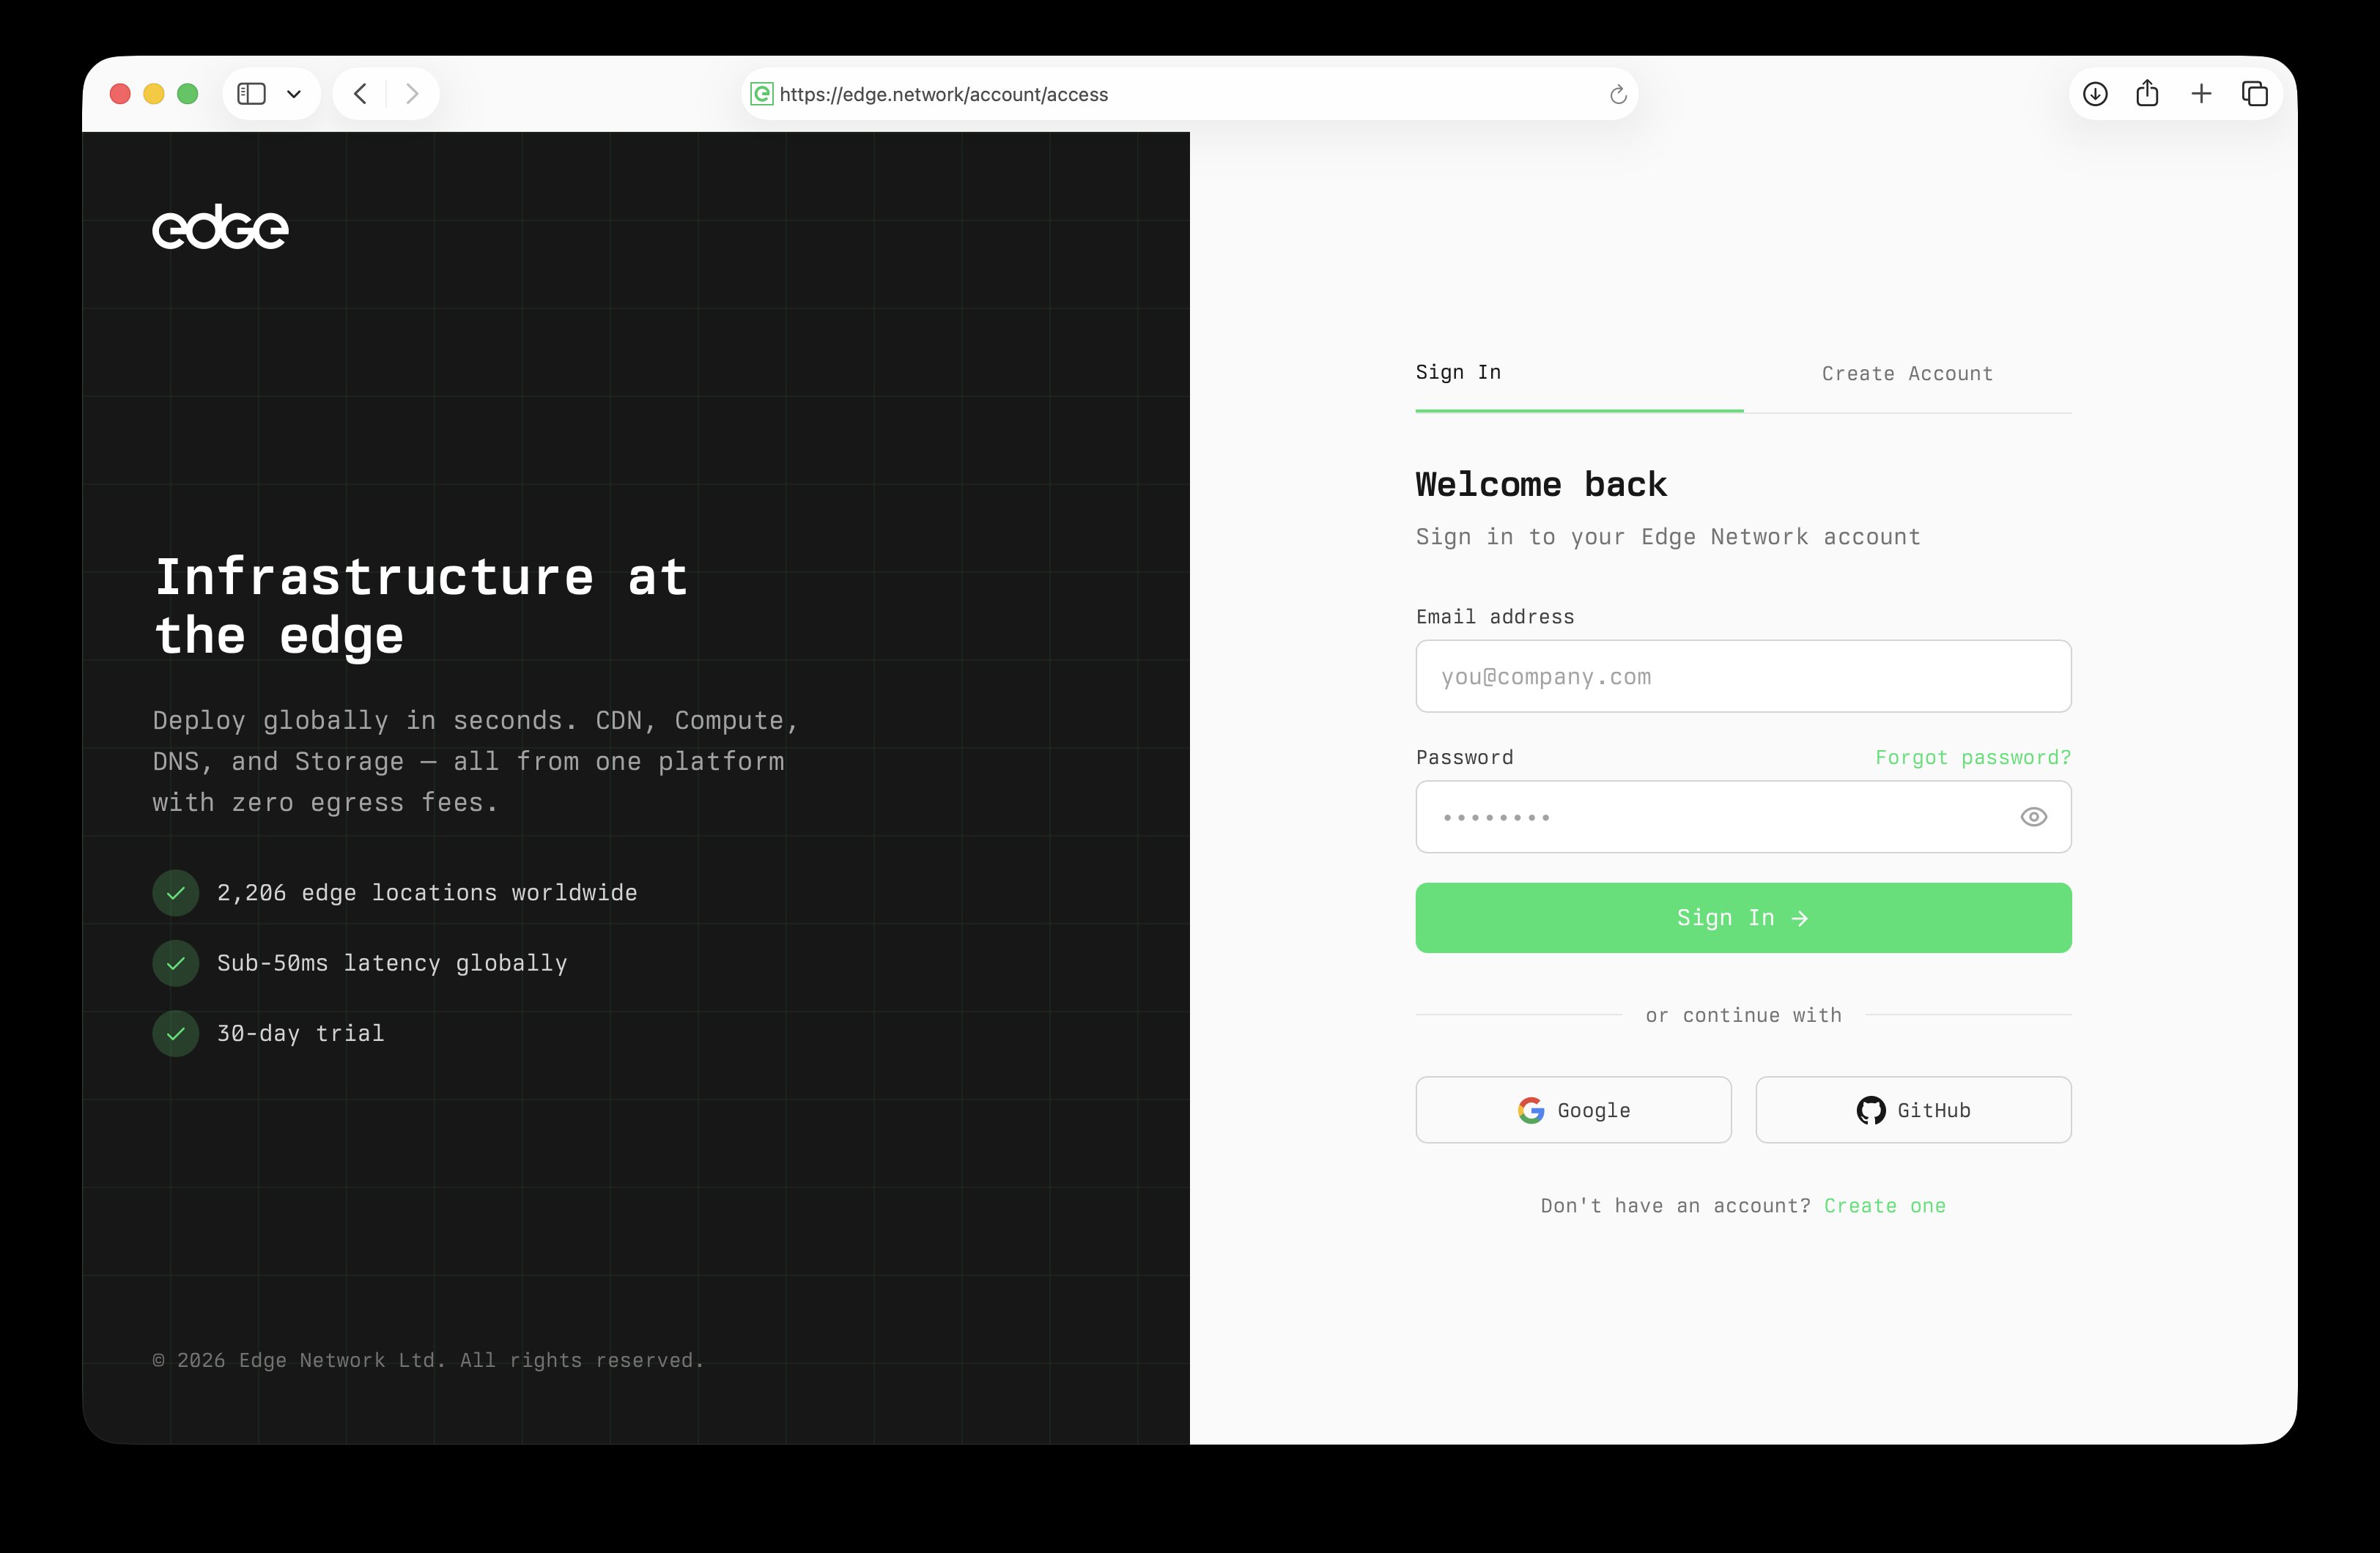
Head to edge.network and click the Start Free button to begin the signup process.
- Visit edge.network.
- Click Start Free in the top navigation.
- You’ll be taken to the account creation page.
2. Create your account#
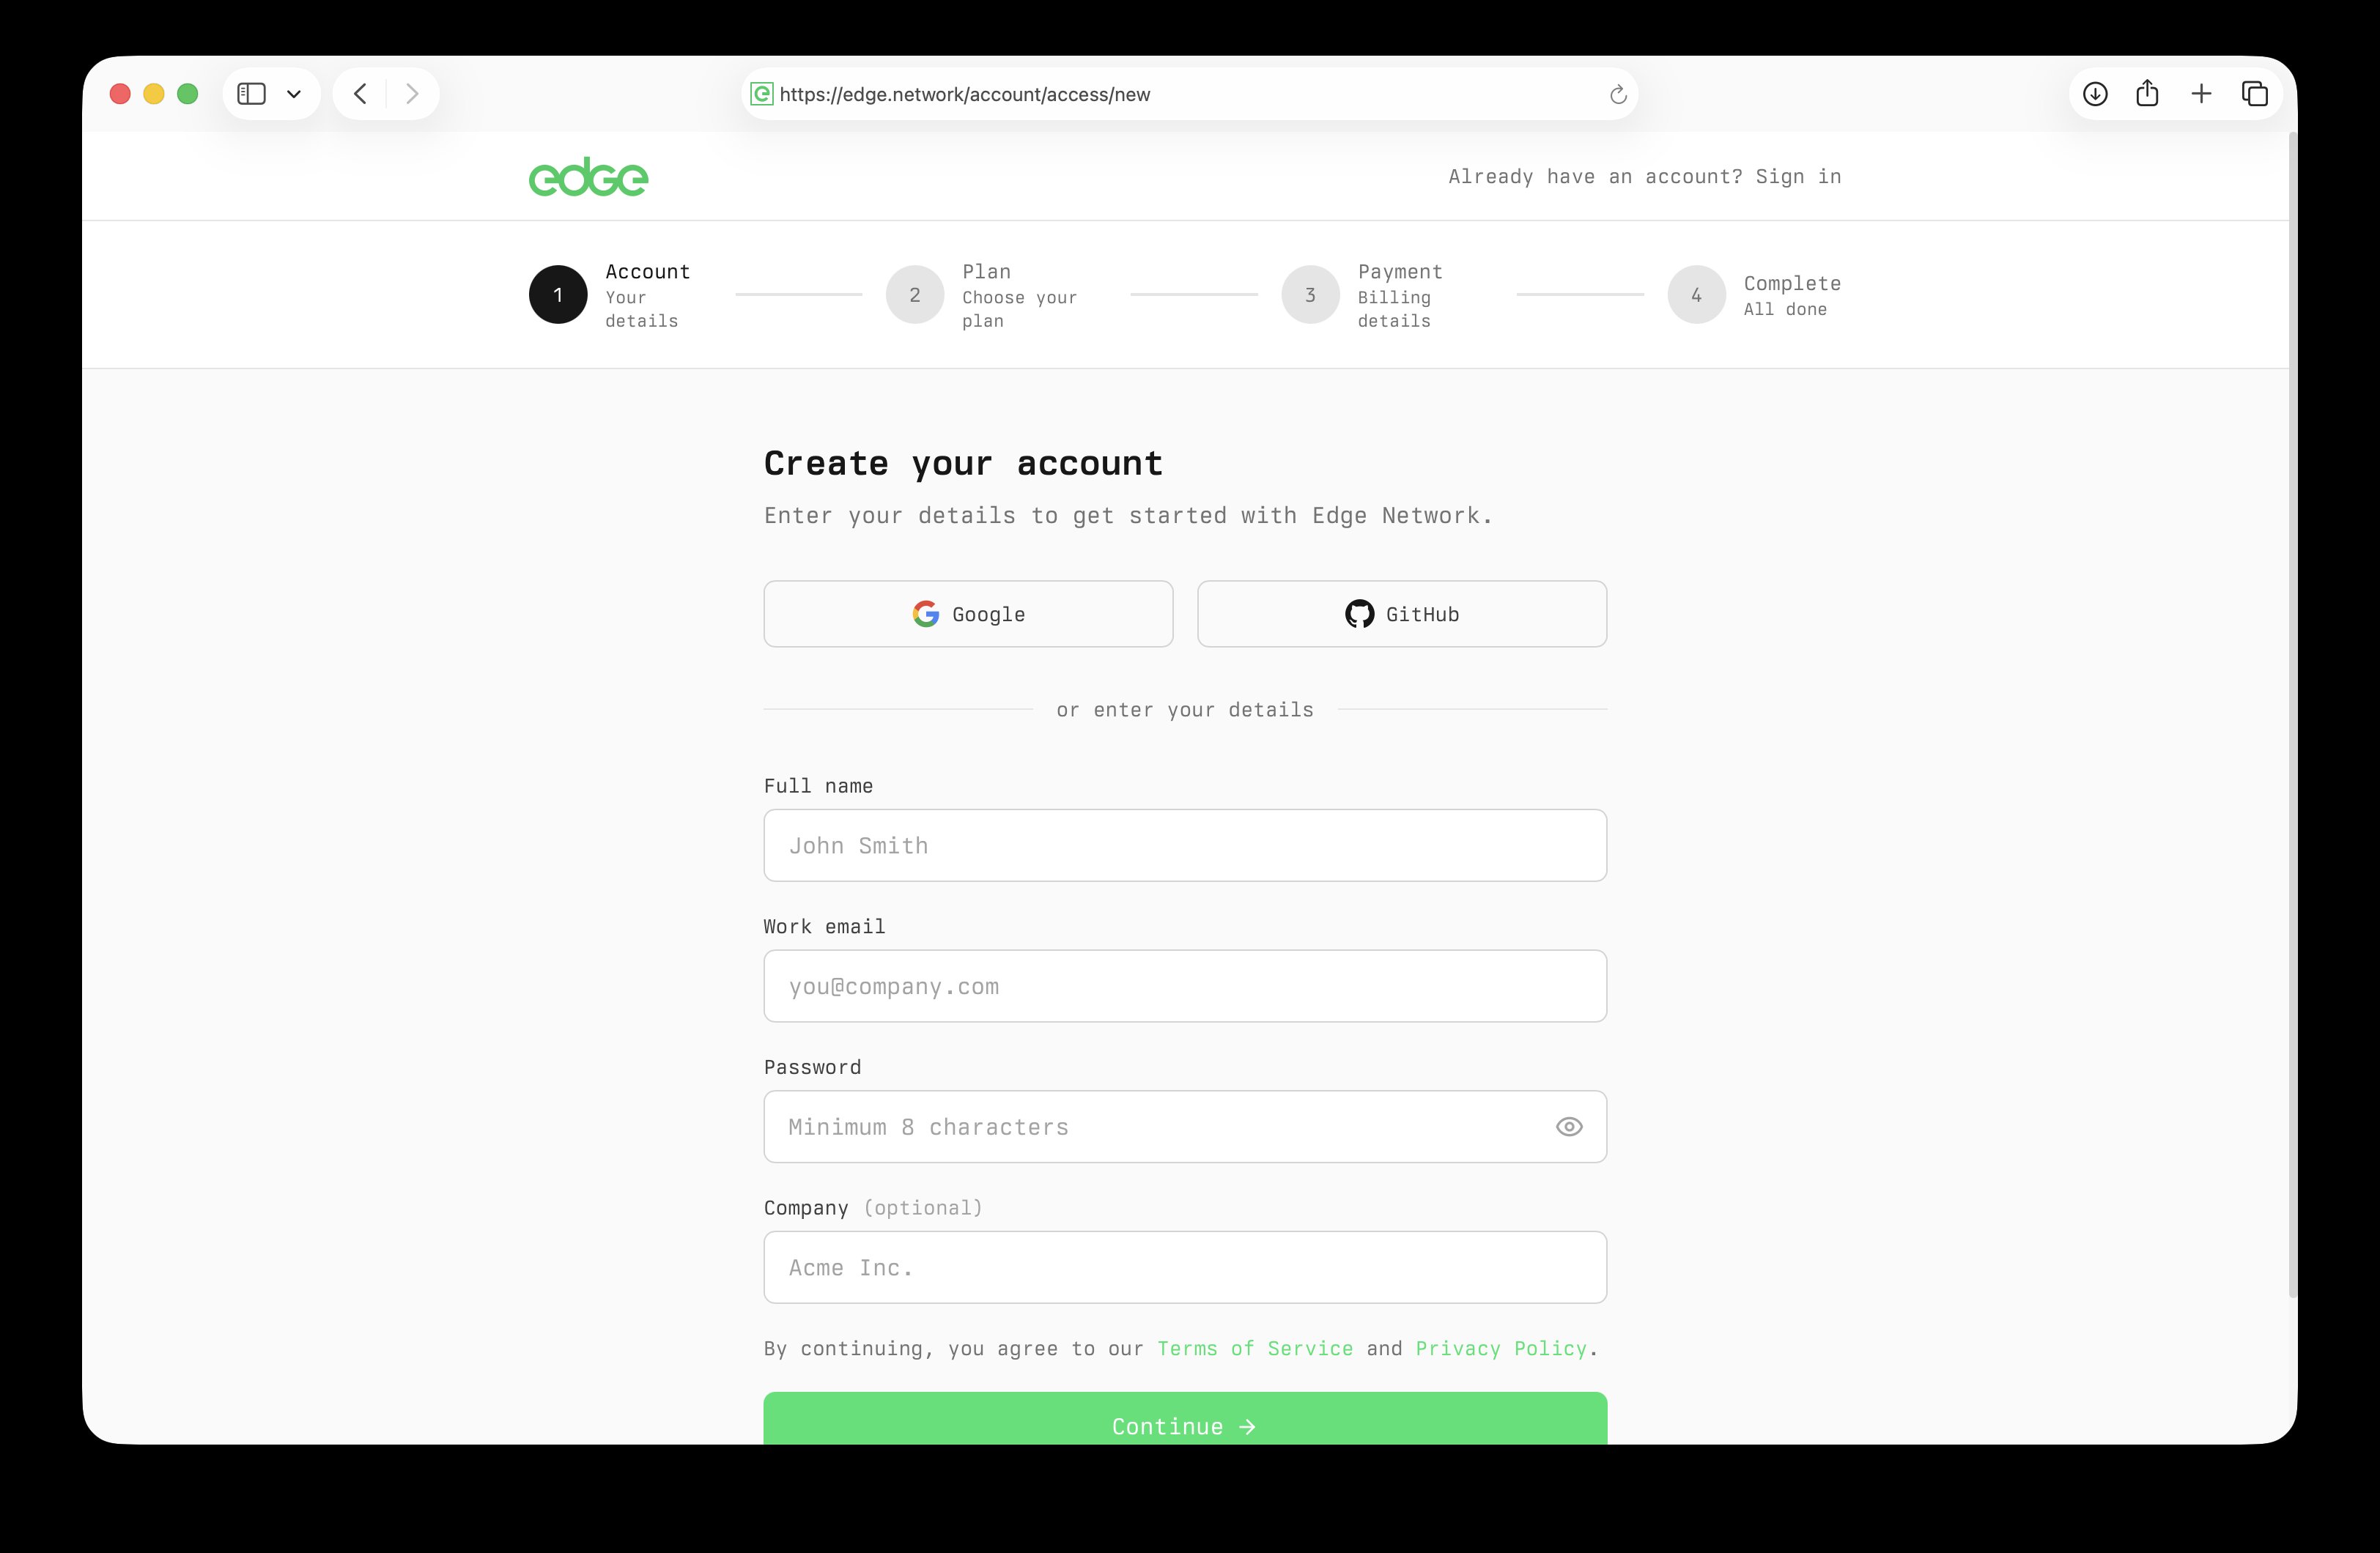
Fill in one short form, or sign up with one click using Google or GitHub. By continuing you agree to the terms of service and privacy policy.
- Enter your full name and email address.
- Create a secure password (minimum 8 characters).
- Add your company or organisation (optional).
- Click Create Account. You can also sign up with Google or GitHub instead.
3. Verify your email#
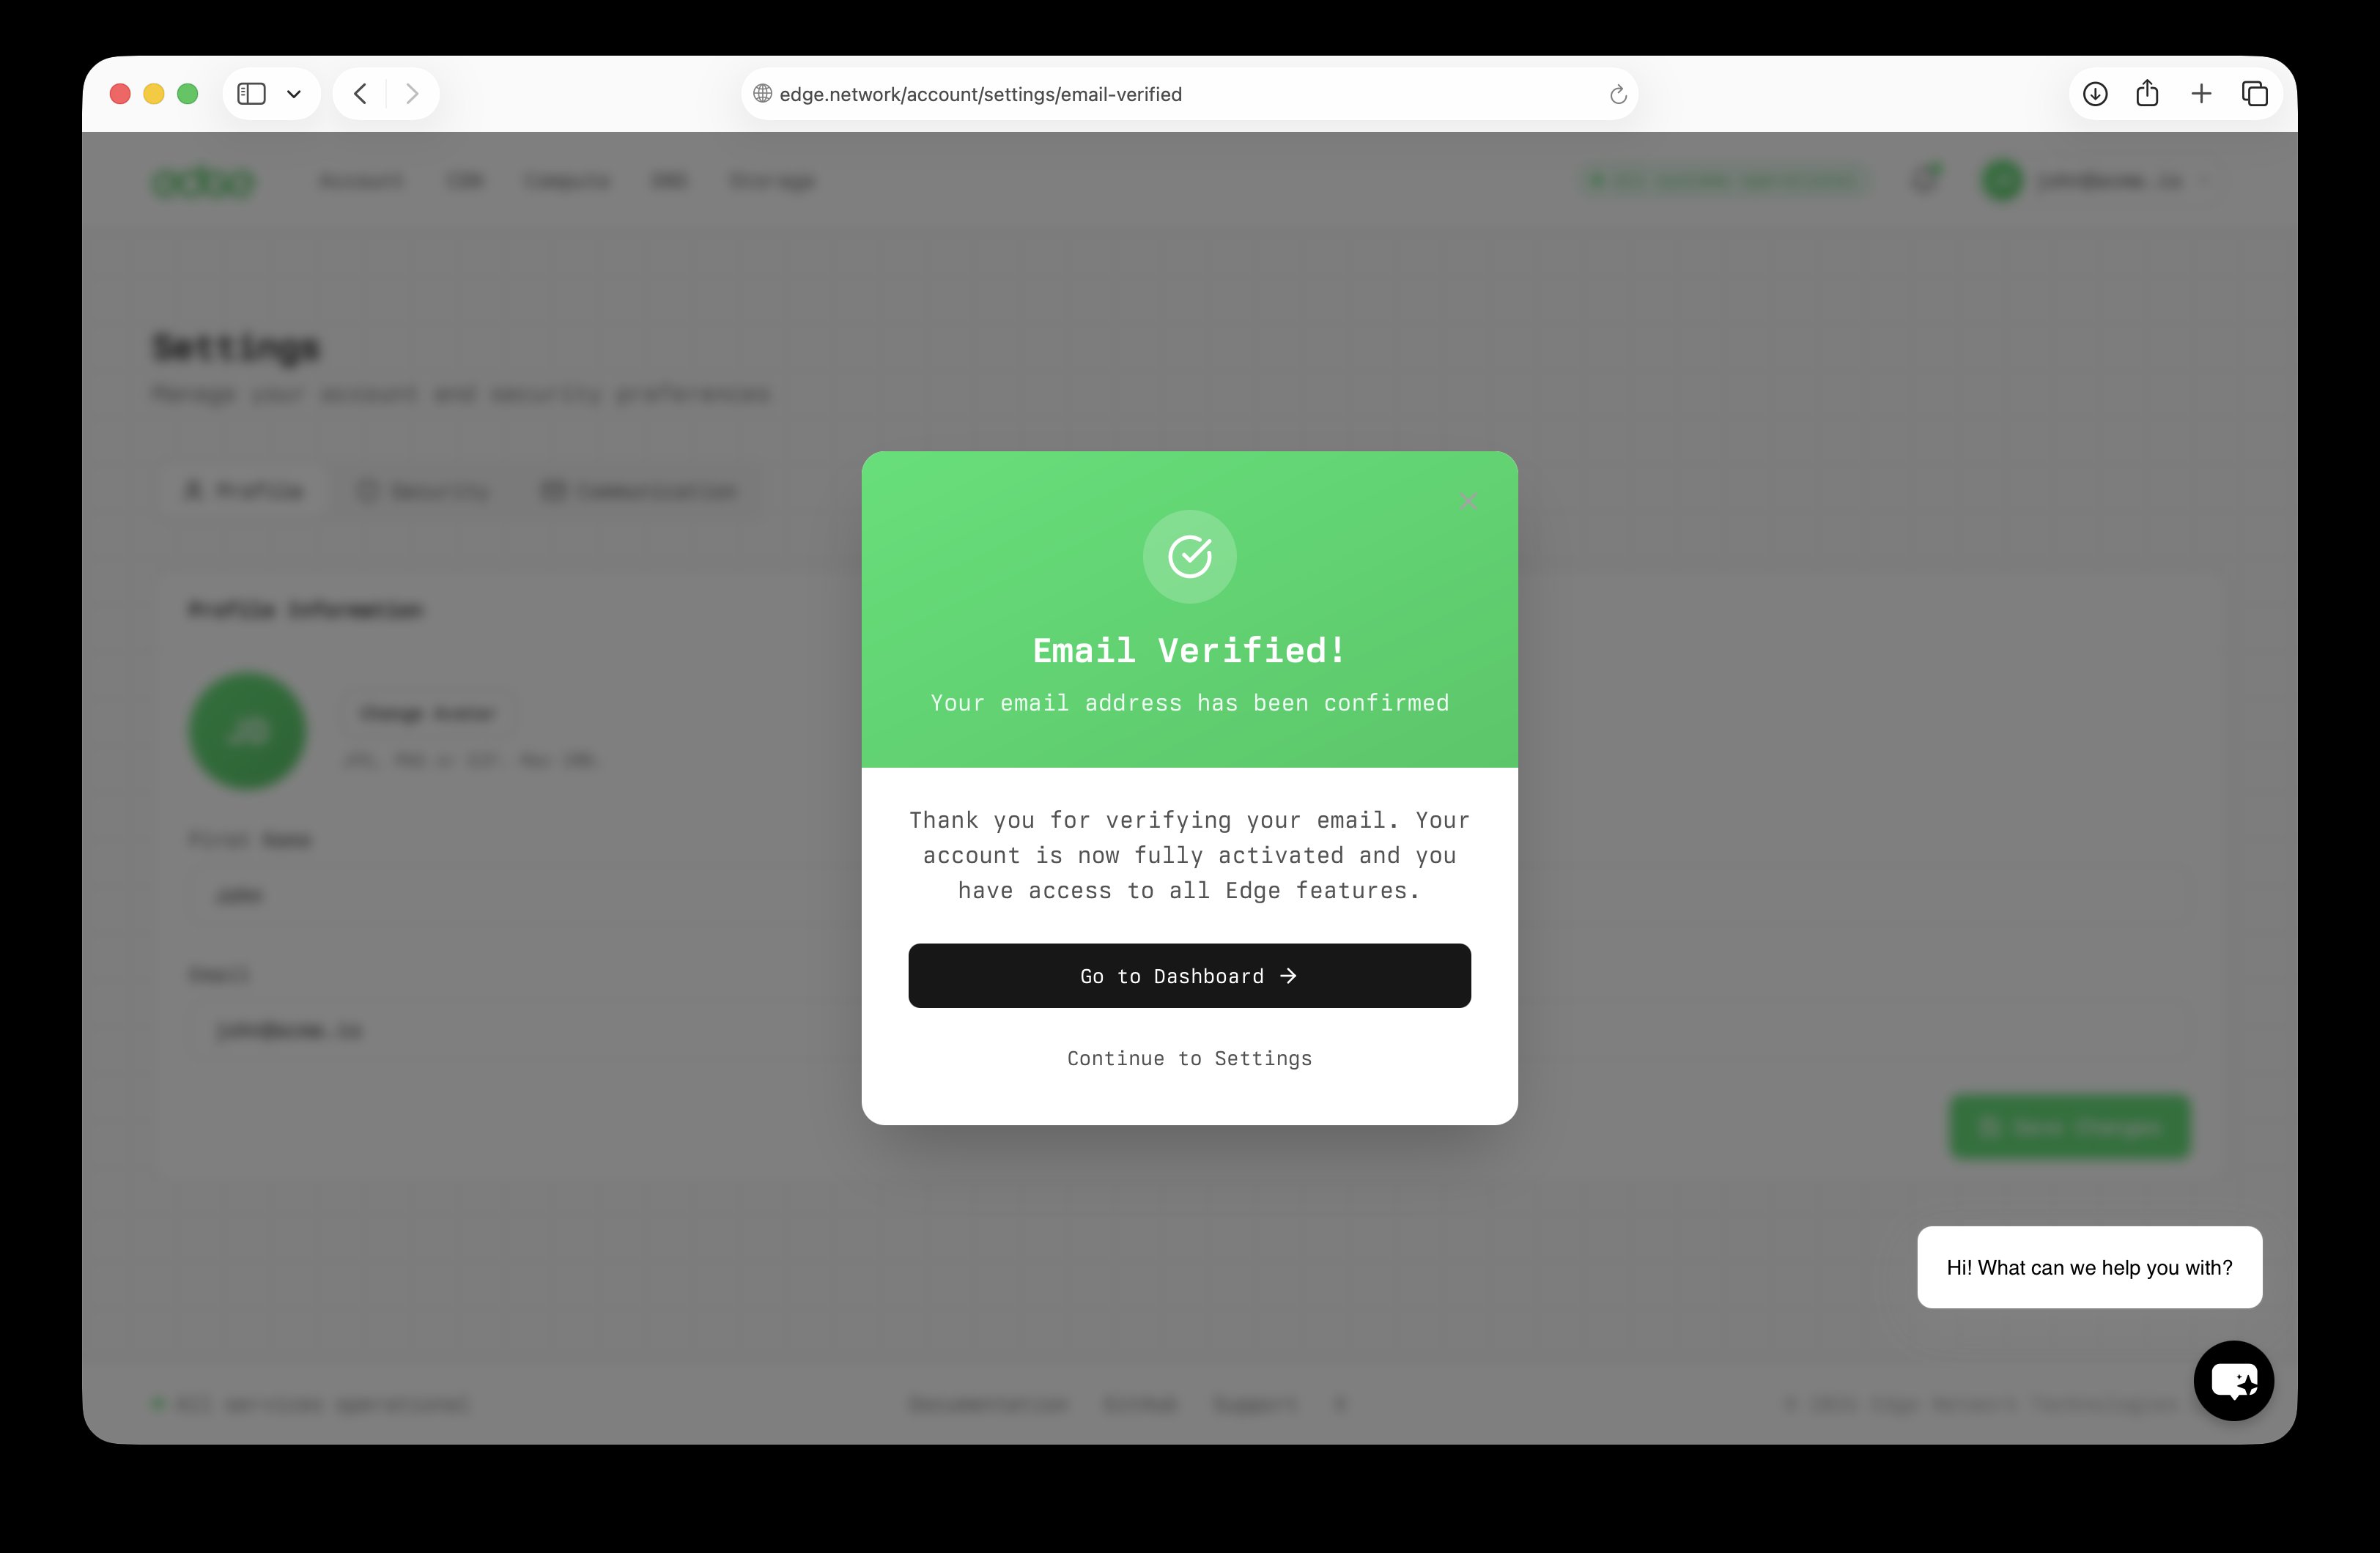
We send a verification link the moment you sign up. Once your email is verified you can create resources, starting with free DNS zones. No card is needed for this step.
- Check your email inbox (and spam folder).
- Click the verification link in the email.
- You’ll be redirected back to Edge.
- You can now create DNS zones and other resources.
4. Your account is ready#
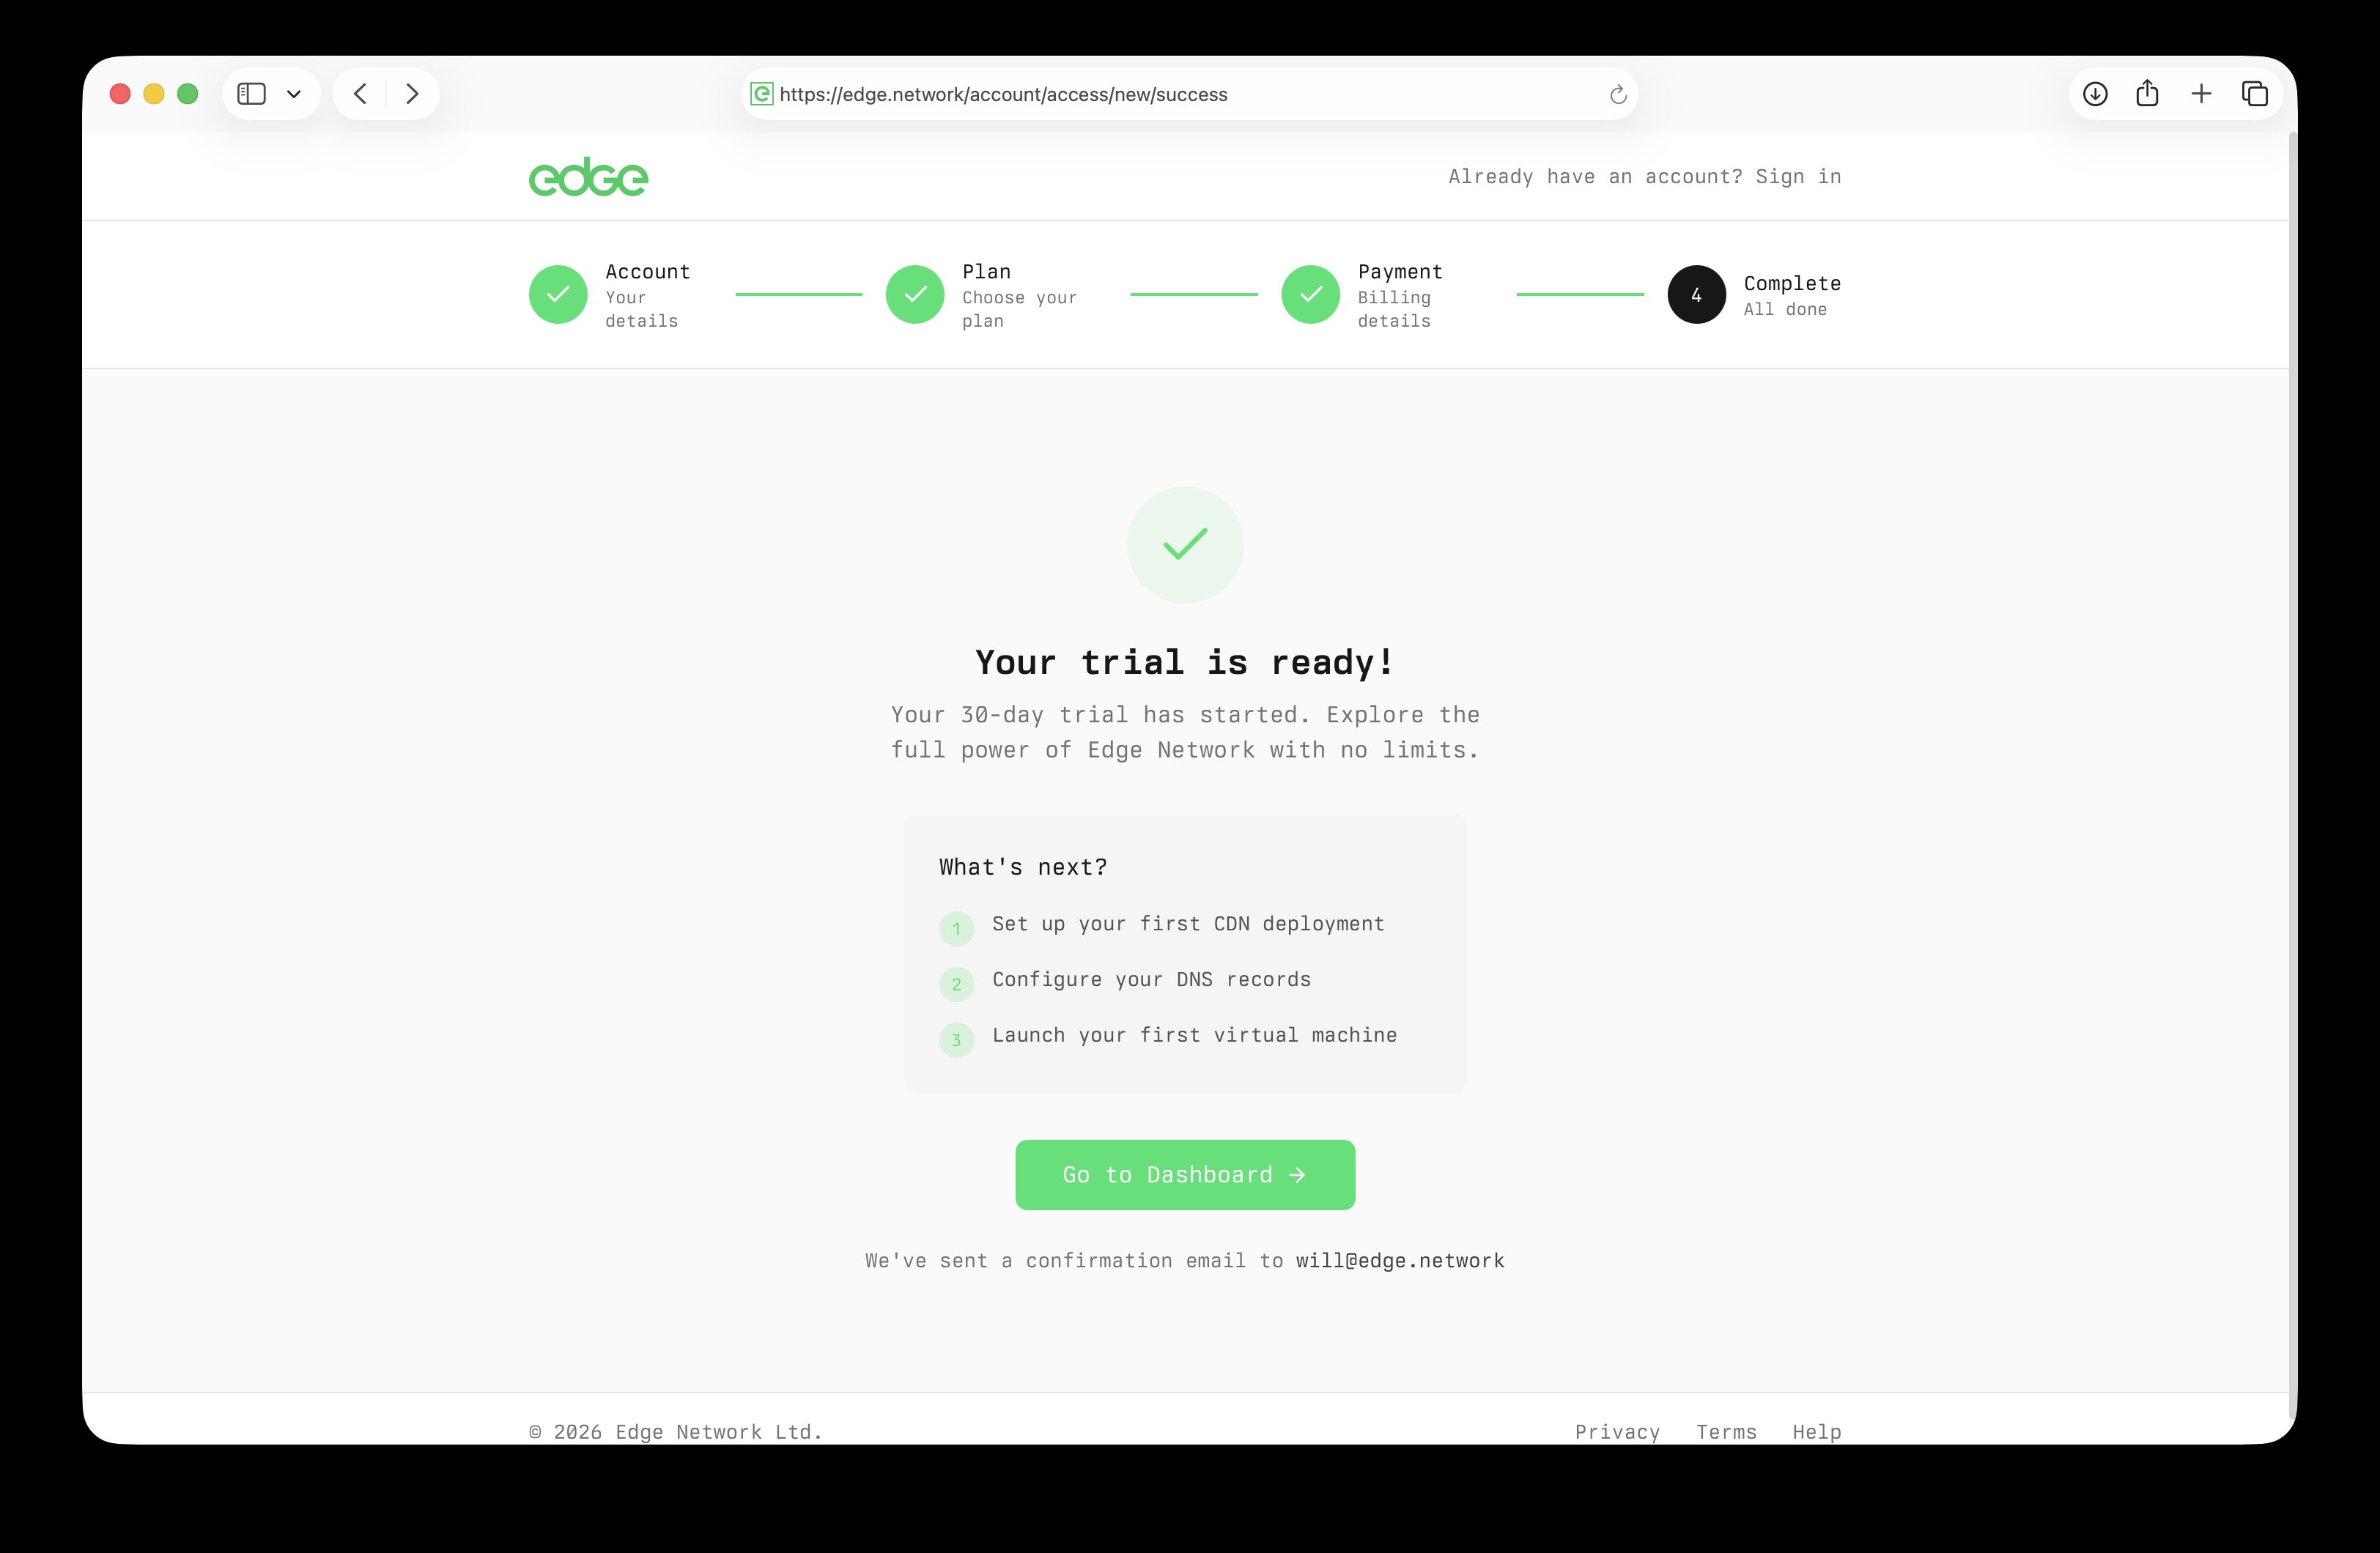
You’re all set! Your free Edge account is active and you can start deploying resources immediately. Add a card later (verified, not charged) to enable the CDN and Storage free tiers and pay-as-you-go, or load a prepaid balance to run VMs.
- You’ll be taken to your console.
- DNS, Shield and Assist have free tiers with no card at all.
- Add a card to enable the CDN and Storage free tiers and pay-as-you-go.
- Check out the Quick Start guide to deploy your first resource.
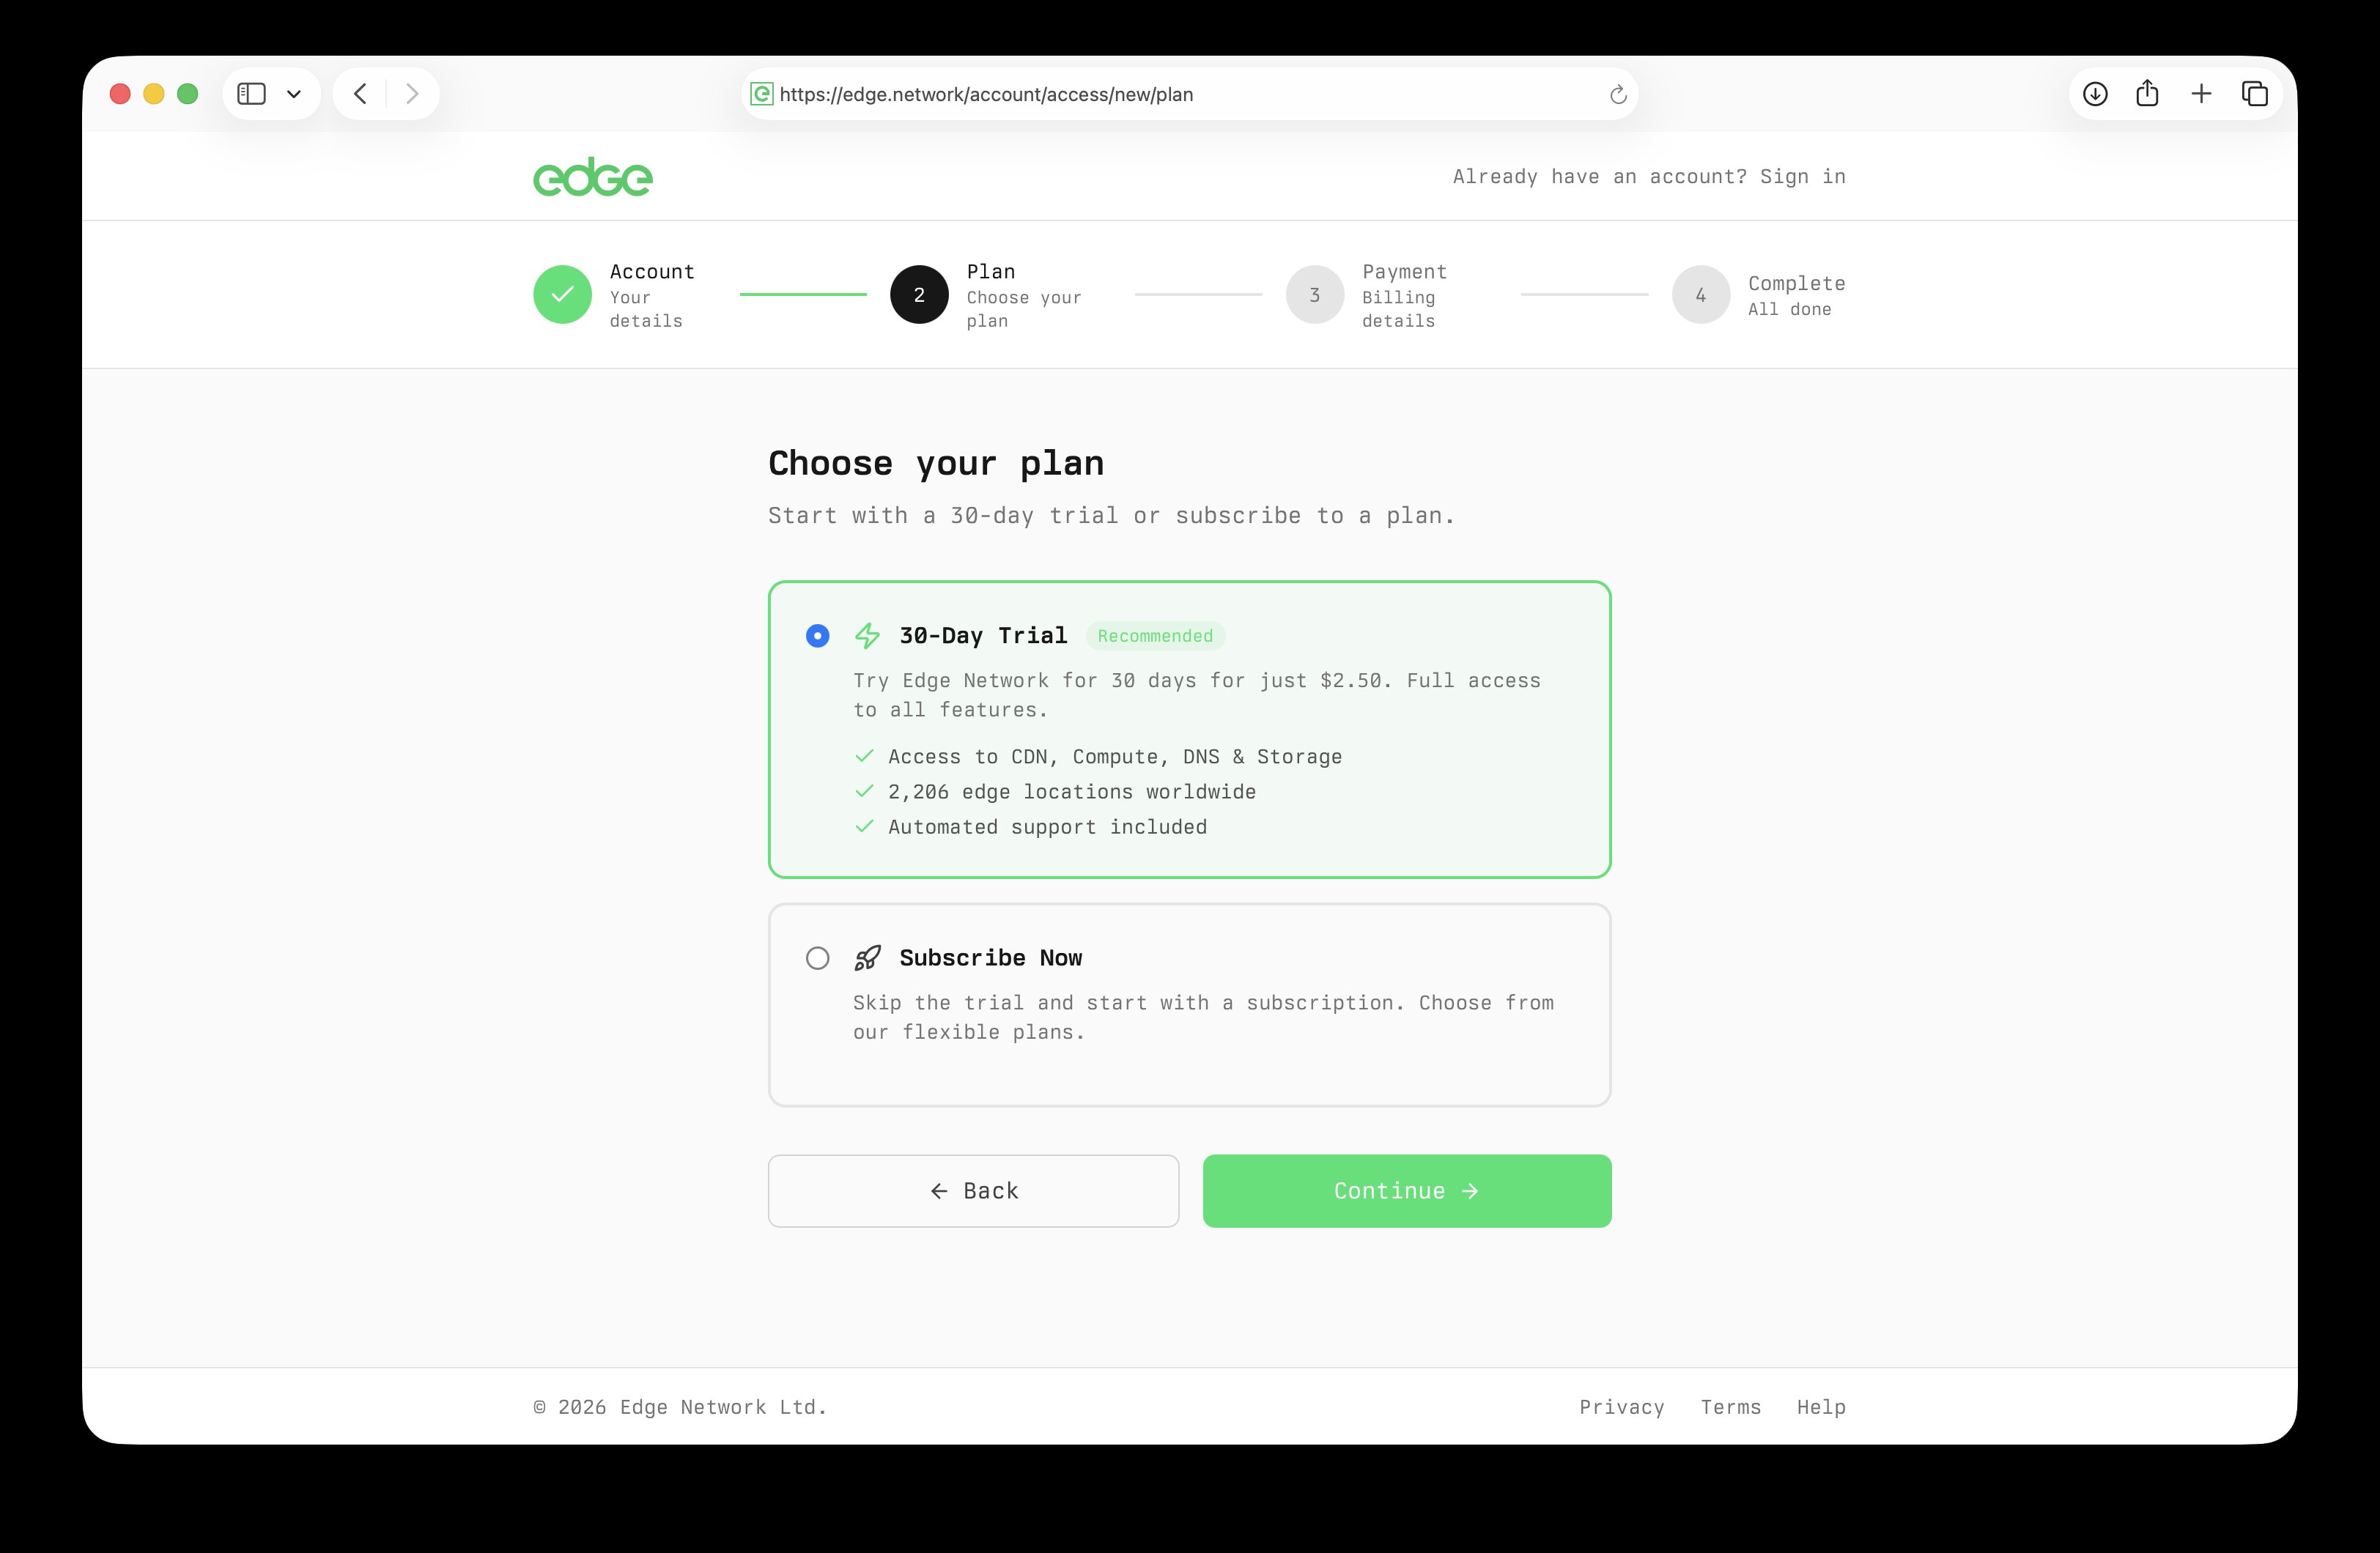
5. Complete your profile#
Your name and company carry over from signup. Fill in the rest in Settings → Profile.
- Navigate to Settings → Profile.
- Update your name or company if needed.
- Add a profile photo.
- Note your Customer ID. Support may ask for it.
6. Configure security#
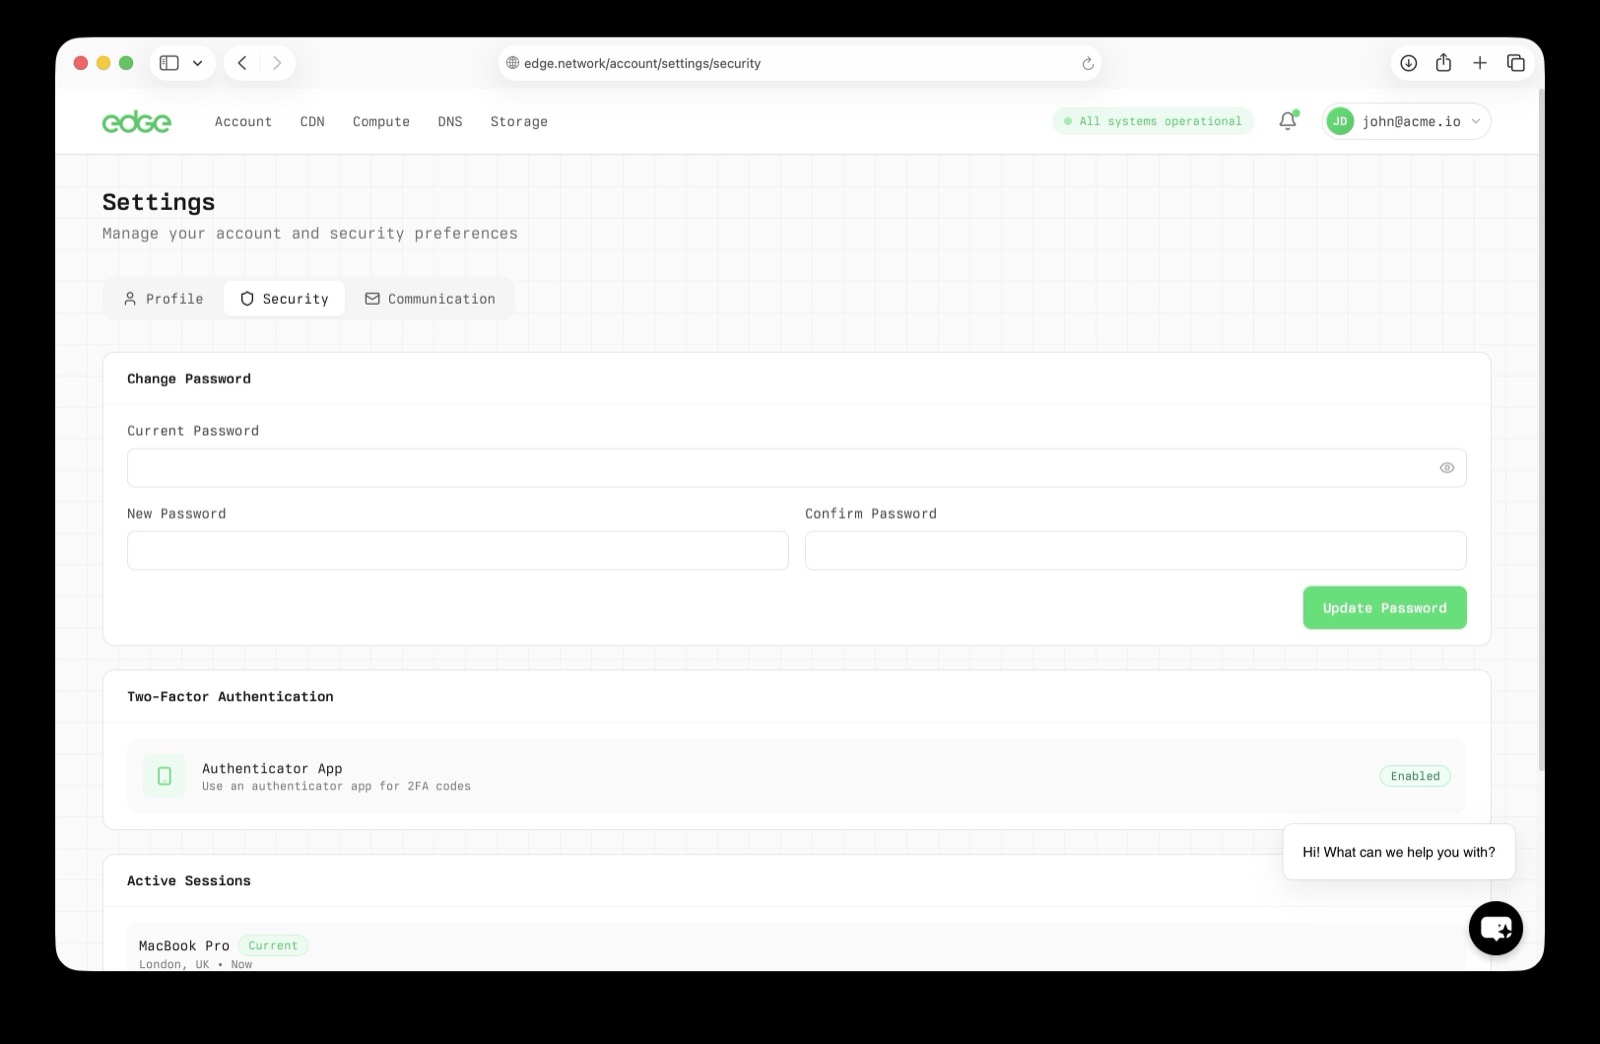
Secure your account with two-factor authentication. We strongly recommend enabling this.
- Navigate to Settings → Security.
- Click Enable 2FA.
- Scan the QR code with your authenticator app.
- Enter the verification code to confirm.
7. Set up notifications#
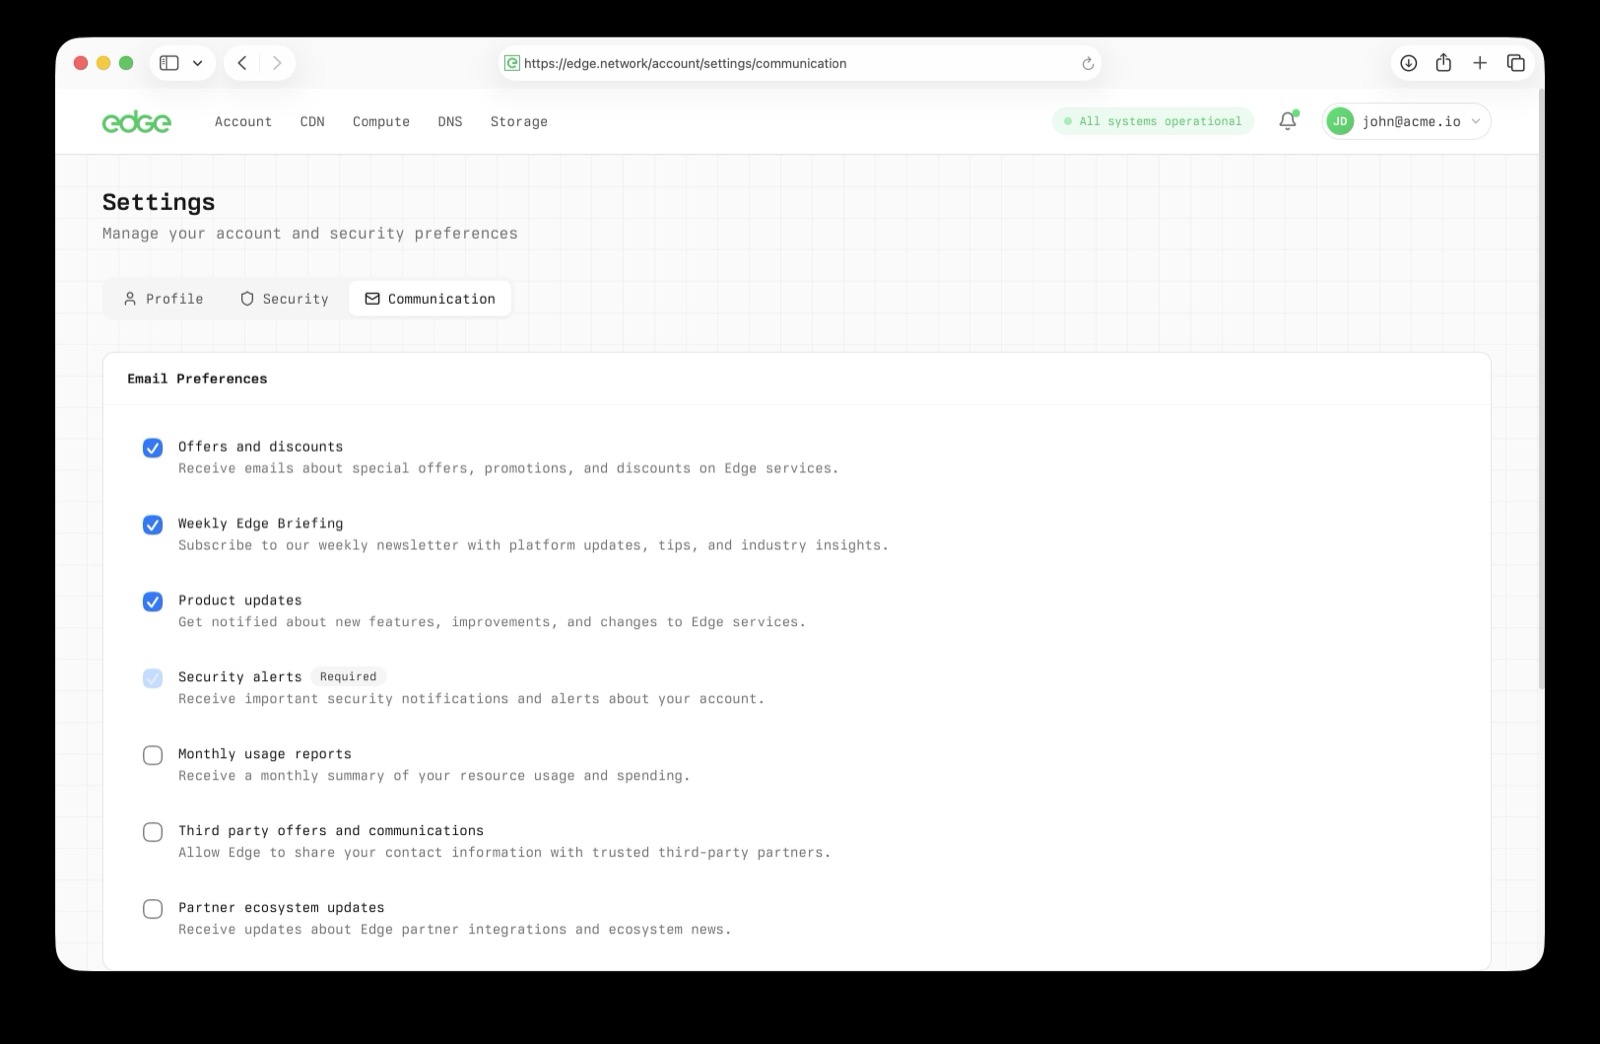
Choose what Edge emails you about, and add a phone number if you want SMS for critical alerts.
- Navigate to Settings → Communication.
- Email notifications are on by default.
- Toggle the notification types you want: security alerts, product updates, usage reports and offers.
- Add a phone number for SMS on critical alerts (optional).
Account ready#
Your Edge Network account is fully configured and secure. You’re ready to deploy your first resource. The Quick Start guide walks you through it.
Next steps
Keep learning
Getting started3 min read
Quick start guide
Go from zero to deployed in 10 minutes. This guide walks you through creating an account, installing the CLI and deploying your first resource.
Getting started3 min read
CLI installation
The Edge CLI is the fastest way to manage your infrastructure. Install it in seconds, authenticate, and start deploying.
Getting started4 min read
First deployment
You've got an account and the CLI installed. Now let's deploy something real. Pick your product and follow along.